
R is a powerful statistical computer language with many capabilities for analysis and data manipulation. Of them, cbind() is one of the most important. We'll go into the technical details of R's cbind() function in this article, covering its use, goal, and examples.
What Does cbind() in R Do?
The cbind() function in R is short for "column bind," and its primary purpose is to combine vectors, matrices, or data frames by column. In simpler terms, it allows you to concatenate objects horizontally. This function is particularly useful when you want to merge data by adding new columns or combining existing ones.
How to Use cbind() in R?
The basic syntax of cbind() is straightforward. It accepts multiple arguments, allowing you to pass vectors, matrices, or data frames. Here's a simple example:
Code:
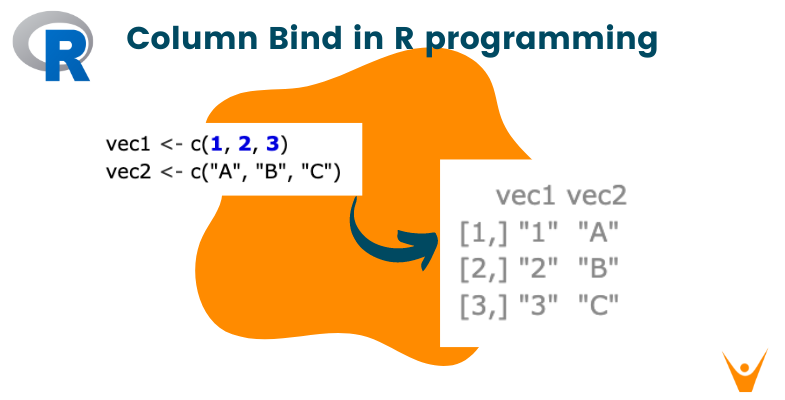
vec1 <- c(1, 2, 3)
vec2 <- c("A", "B", "C")

combined_matrix <- cbind(vec1, vec2)

print(combined_matrix)
Output:
     vec1 vec2
[1,] "1"  "A"
[2,] "2"  "B"
[3,] "3"  "C"
In this example, cbind() combines vec1 and vec2 into a matrix named combined_matrix. The resulting matrix will have two columns, one for each vector.
Examples of cbind() in R
Let's dive into a practical example to illustrate how cbind() can be applied to real-world scenarios. Imagine you have a data frame containing information about students, including their names, ages, and test scores.
Code:
student_data <- data.frame(
  Name = c("Johnathan", "Camelio", "Charles"),
  Age = c(20, 22, 21),
  Score = c(85, 90, 78)
)

grades <- c("A", "B", "C")

student_data <- cbind(student_data, Grade = grades)

print(student_data)
Output:
       Name Age Score Grade
1 Johnathan  20    85     B
2   Camelio  22    90     A
3   Charles  21    78     C
In this example, cbind() is used to add a new column called "Grade" to the existing data frame. The grades vector is bound as a new column, offering additional information about each student.
How Do You Add a Column in cbind() in R?
Adding a column using cbind() is a straightforward process. As shown in the previous example, you need to create a vector containing the values you want to append and then use cbind() to combine it with the existing data structure. The new column will be added to the right of the existing columns.
What Is the Alternative to cbind() in R?
While cbind() is effective for combining columns, R provides alternative functions with similar purposes. One such function is merge(). Unlike cbind(), merge() is more versatile, enabling you to merge data frames based on specified columns, akin to SQL joins.
Here's a quick comparison between cbind() and merge():
cbind(): Combines objects by column, assuming they have the same number of rows. It is a simpler method for concatenating columns.
merge(): Performs more complex merging operations, allowing you to combine data frames based on common columns. It is suitable for more advanced data merging tasks.
Here's the syntax for merge() function.
merged_data <- merge(data_frame1, data_frame2, by = "common_column")
The choice between cbind() and merge() hinges on the specific needs of your data manipulation task. If you're solely concatenating columns, cbind() is a concise and efficient option. However, for merging data frames based on shared columns, merge() offers greater flexibility.
What Is the Difference Between rbind() and cbind()?
To fully understand the functionality of cbind(), it's essential to contrast it with another similar function, rbind(). While cbind() stands for "column bind," rbind() stands for "row bind," and it combines objects by row.
Let's look at an example to better understand the differences.
Code:
matrix1 <- matrix(1:3, ncol = 1)
matrix2 <- matrix(4:6, ncol = 1)

combined_by_column <- cbind(matrix1, matrix2)

combined_by_row <- rbind(matrix1, matrix2)

print("Combined by Column:")
print(combined_by_column)

print("Combined by Row:")
print(combined_by_row)
Output:
Combined by Column:
     [,1] [,2]
[1,]    1    4
[2,]    2    5
[3,]    3    6
Combined by Row:
     [,1]
[1,]    1
[2,]    2
[3,]    3
[4,]    4
[5,]    5
[6,]    6
In this example, the cbind() function combines matrices matrix1 and matrix2 by column, resulting in a matrix with two columns. Whereas, the rbind() function combines the same matrices by row, creating a matrix with two rows.
In summary, the key difference is in how the functions concatenate the objects.
cbind(): Combines objects by column, extending the number of columns.
rbind(): Combines objects by row, extending the number of rows.
Conclusion
In the world of working with data in R, understanding functions like cbind() is super important. Whether you're a data scientist, analyst, or researcher, knowing how to put columns together or add new ones is a basic skill. In this article, we've talked about the basics of cbind()—what it does, how to use it, showed examples, looked at other options, and explained the difference from rbind(). With this knowledge, you can confidently use cbind() to make working with data in R easier and get the most out of it for your data tasks.